

I am always looking out for cool apps that help enhance my Instagram pictures for mainly two reasons. One because I feel like I am a photographer in the making (if you’re following my Instagram, you’d know) and two because I’m an Instagram fanatic (I know you are too!). Now, as a fashion blogger I click lots of pictures of literally everything I do. From the food I relish to the dress I’d absolutely kill for. But, I’ve always wanted to watermark my pictures just like how the photographers do it. I mean, what’s mine is mine right (winks). So I found this cool new app called PicsArt. Here’s how you use it.
Step 1: To start, I’d suggest you first choose a picture you’d like to watermark so you don’t end up wasting time later. I completely understand, this is could be difficult. However, once you’ve done this, just follow the rest of the steps below.

Step 2: Download the Application
Step 3: Sign In/Make a new account
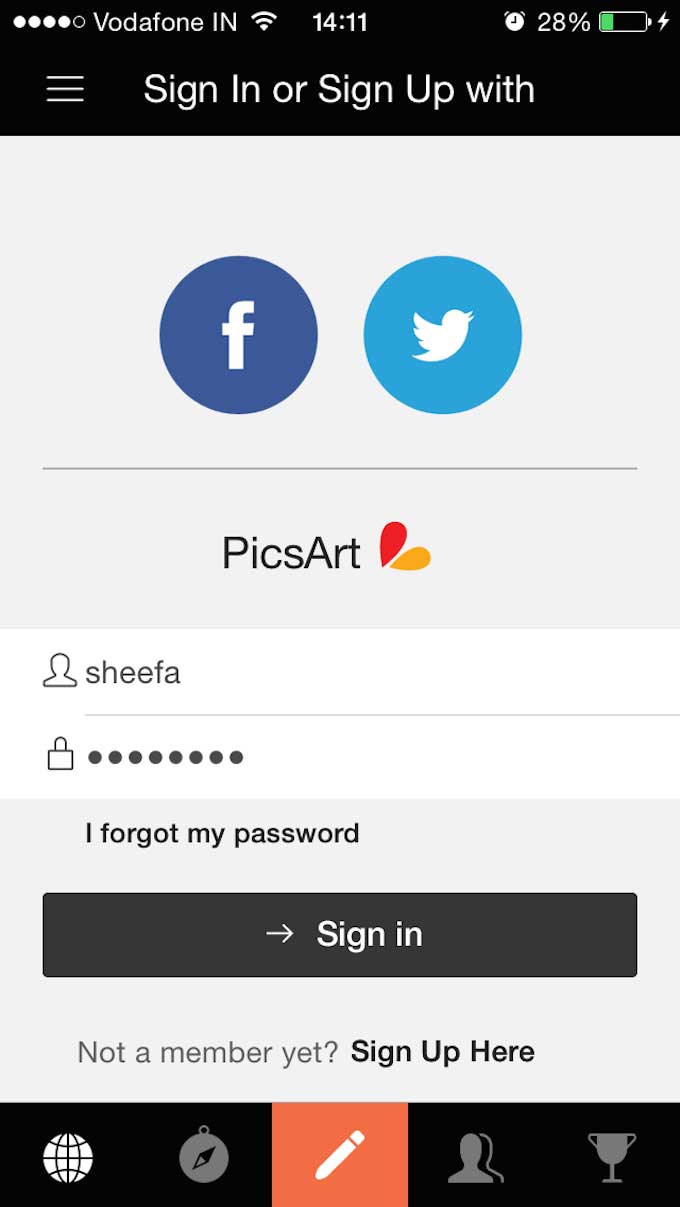
Step 4: Click on the pen tool highlighted in orange.

Step 5: Click on the EDIT circle and choose the desired picture.

Step 6: Once you’ve finished the above step you will be redirected to a screen with several editing options below.

Step 7: Go to “ADD PHOTO”

Step 8: Choose the desired watermark. A PNG format is preferred for better quality.
PS: Don’t forget to save the watermark file to your gallery before you choose the add photo option.

Step 9: Resize the watermark and place it where necessary.

Step 10: This is how the final picture will look. Save it and Instagram (:

Hope that was easy to learn! Will you use this app for watermarking your picture?