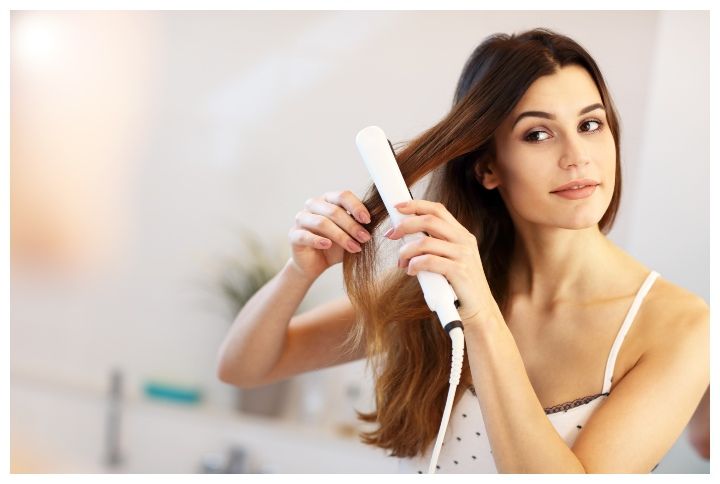
We love ourselves some tousled wavy locks and glamourous curls but sometimes you just need loose waves for a more chilled out vibe. But who has got the time to break out the curling wand, section the hair and curl every strand. Here’s where you’re flat iron comes to the rescue. You’ve probably only ever broken it out to straighten your hair but it can do so much more than that! In fact, commonplace hair iron or straightener can be used to create a load of different styles.
Looking for blowout bends or a piece-y texture? It’s all at your fingertips plus in a much faster route. While you might have already heard about curling your hair with a flat iron we like it the best for beachy waves it can create with minimum effort. The result always looks more natural and the texture tends to last longer throughout the day. So are ready to curl your hair with a straightener? Grab a heat protectant, texturising spray and get started with our roundup of easy game-changing tutorials.
Keep reading on how to iron out those beachy waves at home:
1. Turn your wrist
Ready to rev like a motorcycle? This technique involves some major wrist action but is pretty easy to achieve. Take one-inch sections of your hair and hold it out horizontally from your head. As you slide the iron down your hair you want to turn your wrist back and forth, moving it away from a section then back toward the hair. For a more undone look hold the hair tighter and go over it faster with the iron, creating even more bends.
2. Braid your hair first
A super low effort method all you really need to is braid your hair into sections. You can do a single braid or two braids and more. The more you section and braid your hair the more defined your curls will be. Once that’s done spritz your braid with a heat protectant and go over it with the flat iron a few times. Let your hair cool for a second, undo the braids and voila you have yourself crimped beach waves.
3. Make an S shape
Create some beautiful soft S-shaped beachy waves with a few simple steps. Grab a section of hair and use the iron to create a bend in the first few inches. Continue clamping your flat iron bending the hair in the shape of an S in a downward motion till you finish off the piece. Keep repeating this process throughout the rest of your hair and always remember to focus on the ends for a more natural-looking finish. Finally, spray in some dry shampoo or texturizing spray for that lived-in look.
4. Twist away from your face
You can really get some bouncy waves out of this method. Clamp the plates about an inch or two from the roots then wrap the section around the iron once. Slide it down a bit, unclamp and rewrap your hair and repeat. You want to twist your wrist way from the face so the hair flow over the iron. When you’re done, comb through to soften the curls. Spritz on some finishing spray and you’re ready to hang ten!
Have you tried any of these flat iron techniques before? Which one’s your favourite? Let us know in the comments below.
Follow @missmalinibeauty on Instagram for more updates