No matter what look you’re going for, if your base makeup is done well it’s half the battle won. But when it comes to applying foundation everyone has their own technique to applying this essential makeup product. Speaking from personal experience as a beginner foundation can be a daunting product to deal with. While powder, mousses and tints can be relatively simple to deal with. All you really needed at that time was to use a clean brush or sponge that came with the compact and swiping it over your face. However liquid foundation was trickier and still continues to be a bit more troublesome to deal with especially if you’re lacking in beauty knowledge or experience. Which makes it so easy for your base makeup to end up looking like a streaky mess. The key for a smooth, even, and flawless complexion when dealing with liquid foundation is part of the application process and I’m here to break it down for you.
Keep scrolling to check out all you need to know to get the best foundation application of your dreams:
Picking the right foundation finish
Of course, the first stop on your foundation journey is selecting the right picking out a type of foundation formula and finish. Since we’re focusing on liquid formulas that have taken care of but you need to decide if you’re opting for a matte finish, hydrated dewy glow or somewhere in-between. The foundation finishes you choose mostly depends on your personal preference, but your skin type also plays an important role. Matte foundations are generally shine-free, so they are great for controlling oil, making them ideal for oily skin types. Whereas dewy or luminous foundations are a great pick for dry skin because they boost moisture, make your skin look bright, glowy, and naturally radiant. Once your choice is made it’s all about using the right tools to suit your needs.

1. Using a Sponge
By now beauty sponges are nothing new in the beauty space and has since become a favourite in the makeup community for good reason. They are the easiest way to get an easy airbrushed finished and even out the skin. The key to using a sponge is to actually get it wet first before using it. Dip in a bowl of water or under the tap to fully saturate it then. Next, you want to squeeze any excess water out before dipping it into the liquid foundation. This helps achieve even coverage and minimizes product absorption. Plus if high coverage isn’t your thing it can also help sheer out your foundations.
Now you want to gently dot and blend the product all over your face starting from the centre moving outwards by dabbing or bouncing the sponge. Be careful not to overload your sponge and work in light layers to just even out the skin. Also don’t forget to blend it to your neck, girl! You don’t have to blend all the way to your collarbone, but by making sure your foundation reaches below your jawline. If you’re looking for a good sponge recommendation, the OG BeautyBlender is still at the top of my list with the Real Techniques sponge coming a close second. These two have never steered me wrong and are some of the best beauty sponges available.
2. Apply with Your Fingers
One of the best tools you can ask for is at your fingertips, literally. Your fingers are the easiest way to applying several kinds of makeup, be it your blush, eyeshadow and yes even your liquid foundation. The natural heat radiated from our skin warms up the foundation, which gives it a beautiful natural finish when applied. The best way to go about it is by dispensing some at the back of your hand spreading it gently across the face with your fingers. It is recommended to start at the T-zone and work your way around. However, if using your fingers is your preferred method of application makes sure to take the extra time to smooth all the edges for a seamlessly blended look!
Just remember to follow proper hygiene when using your hands. Always wash them and make sure they’re dry before dipping them into anything. You want to avoid any germs or the transfer of any other make-up between each makeup step.
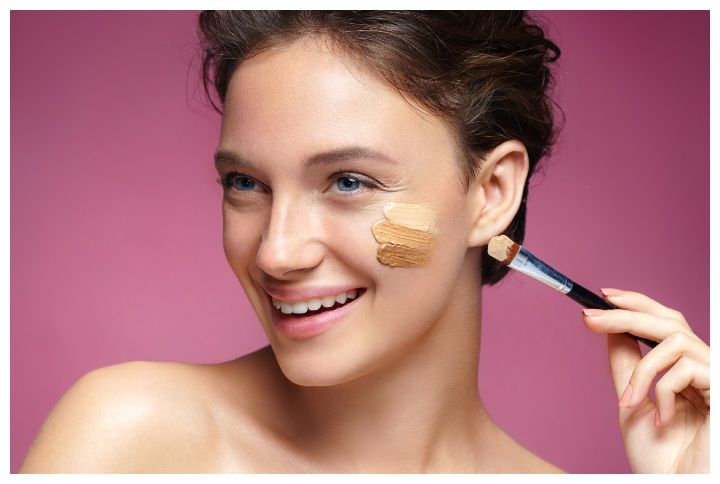
3. Applying with A Brush
Everybody needs at least one decent foundation brush in their collection. It’s one of the easiest and most common application tools. If you like full coverage applying your foundation with a brush is your best bet. Unlike a sponge, it won’t absorb a lot of product and makes it easier to paint on even thick formulas.
When it comes to selecting the right brush for the task you need to pay attention to the bristles and shape. Certain natural hair bristles tend to absorb a lot more product and can be difficult to sanitize. Alternatively, synthetic bristles are a fantastic option as it seamlessly blends and makes sure the foundation sits where it should.
While once again choosing the right brush is all about personal preference and finding the combo that suits you there are a few things to keep in mind. If you’re after a full-coverage look, a firm brush with densely packed bristles are a good choice. But if you prefer a sheer finish, opt for a lightweight stippling brush or fluffy brush that will still give you an airbrushed finish you desire.
At the end of the day no matter what method you choose remember that you want the foundation to look like skin, so just use foundation where you need it rather than painting it on all over. Start with less product and slowly add more as needed as you blend to perfection for a flawless finish. Patience is key! Remember to always set your look with powder but only where needed as per your skin type to avoid dryness or cakiness.
How do you like to apply your foundation for a seamless finish? Let me know in the comments below.
Join Malini’s Girl Tribe to be a part of the conversation.