I don’t have a green thumb but like all good things in life, this practice can be learned too. I’ve grown up with my mother wanting a garden but being unable to sustain one. Why? Because we aren’t equipped with the right information about the requirements of different plants and how they grow. Gardening can be quite a rewarding experience especially if you’re able to harvest what you sow. I love that a seed can grow into a plant and that plant can put food on your table eventually. While it is a slow process, it is also a really good way to decompress from life. Also, is there anything better than being able to provide healthy, organic food straight from your very own kitchen garden? This feeling makes all the hard work feel worth it. And composting can help aid in the gardening process.
We’ve all gone through the process of sowing seeds and then getting disappointed by their wilting or worse, not sprouting at all. And sometimes no matter what you try the outcome seems to be the same. What we’ve understood is that the quality of soil greatly affects the growth of your plant. Healthy soil will give you the most harvestable crop. While fertilisers have an effect for a short period, they aren’t really fixing your soil or giving it what it needs to be healthy long term. In short, soil health equates to plant health.
So how do we get this healthy soil that we’re talking about? I bet we’ve all heard about the buzz around composting and we wonder what it is all about. We also think that the practice involves getting our hands dirty and creates an unsanitary environment. In fact, none of these statements is true and we will debunk them for you as you read on. But first…
What is composting?
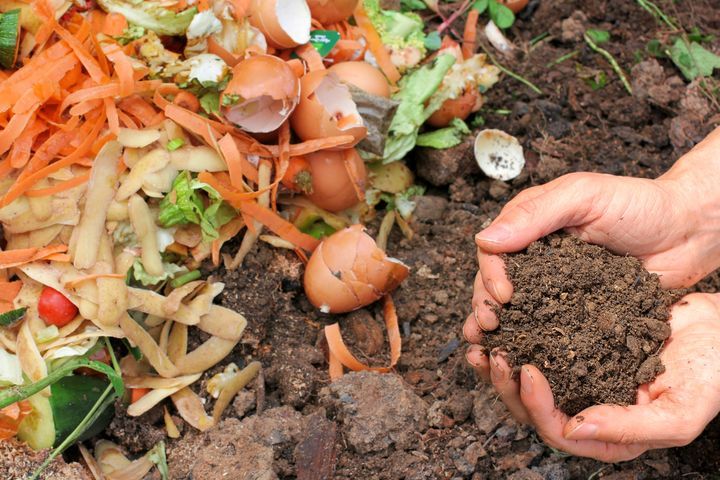
Composting is a cost-effective and environmentally friendly way to create your very own nutrient-rich soil for your kitchen garden. The process is not difficult but once you understand what goes into compost you’ve practically solved the puzzled. And if it’s your first time then understandably there will be a few mistakes and we learn best through trial and error. If you’re interested in being sustainable and wanting your own garden then developing your own compost is an essential step.
Things you’ll need to begin composting at home:
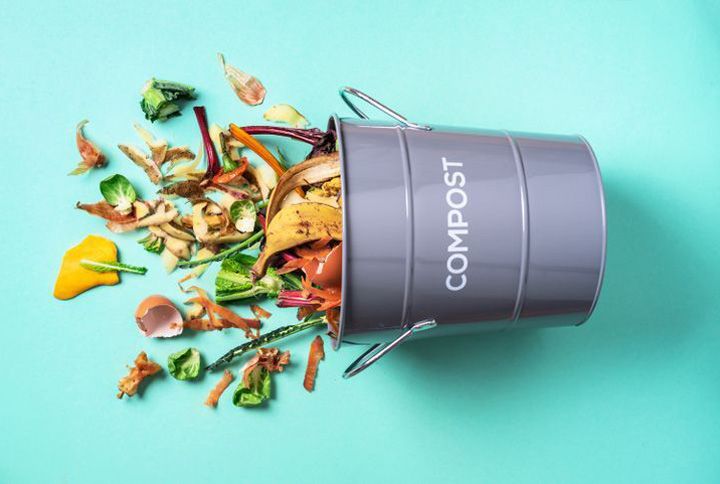
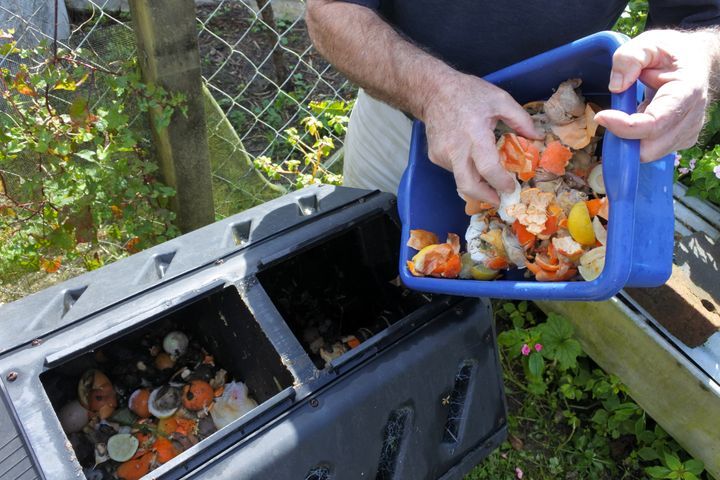
1) Compost bin
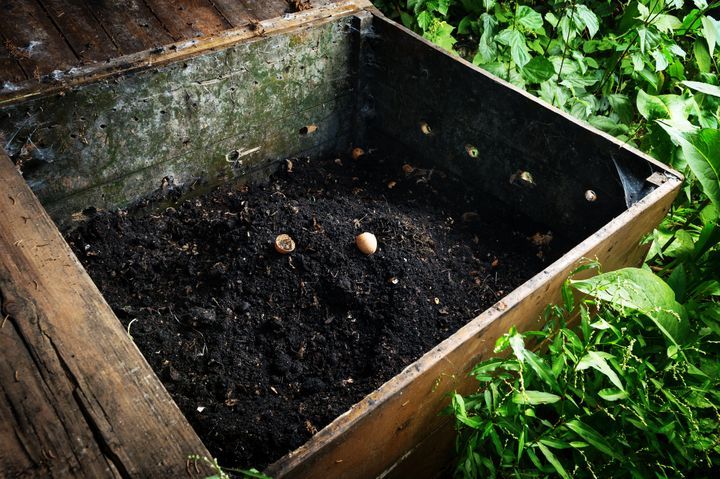
You should be able to find one of these on Amazon India fairly easy and if not you can always re-purpose an item in your home. It could be a terra cotta matka, bucket, old dustbin, old pot. Your bin needs to be a minimum of 10 inches in depth and 12 inches in diameter. But, please go ahead and get a bigger one if you have space for it because the size would totally depend on your needs. Purchase one that is easy to clean because you should clean your compost bin from time to time. Look at purchasing one with a lid because that will help keep bad smells and critters at bay. It is also super important to find one that allows for airflow. Oxygen accelerates the process of food decomposition which will cause an odour, so make sure you find out all the important details before investing in one.
It is always better to have two bins because it can become a never-ending pile. So the best way to tackle this is by having one bin for a finished pile and one for collection. This way your finished pile can be turned often and will break down a lot faster.
2) Bin liners
It’s the same concept you would apply to your garbage bins at home. To avoid a mess the best thing to do would be to line your compost bin with a compostable bag liner.
3) Scrap collector
An alternate option is to get a scrap collector, these items are fashioned to sit on the edge of your sink or dustbin, whatever your preference. This is an easy way to be reminded to keep putting household waste towards your compost pile especially you are new to the entire process. Just make sure you add a good amount of browns and greens because if you have too much or too little of either, it may slow down your composting process.
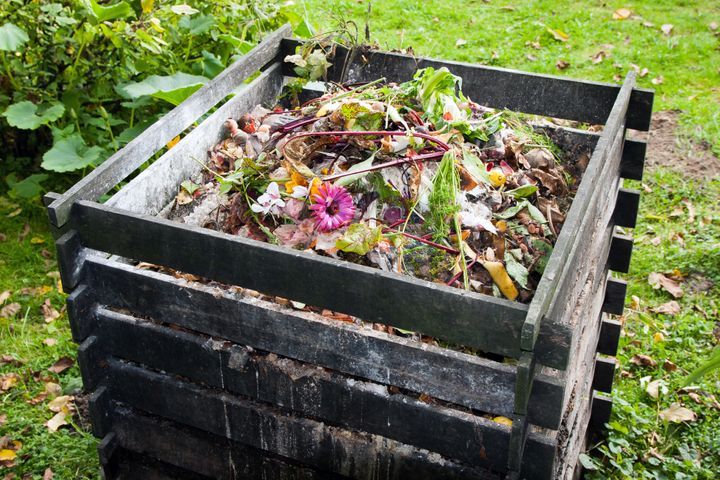
Where should you set up your compost bin?
If you’re composting in an apartment space you can have a bin on your balcony or under the sink. It just needs to be convenient for you. If it is outdoors then make sure it isn’t too far for you and is close to a water source so that you can spray water to keep your pile moist. And there is no requirement for it to be kept in the sun or shade. Although, exposing it to heat will quicken the process.
Here are a few very easy to follow steps to make compost at home:
1) Drainage hole
Make sure to check your bin for a drainage hole. If you find that the hole is too small for water to leave the bin then make it a little bigger. This way the extra moisture will drain out and won’t cause an odour.
2) Add pebbles
Add pebbles so you don’t end up blocking the drainage hole and this becomes your first layer in the bin.
3) Cover with soil
You can add a layer of garden soil or ready compost from your previous endeavours. The thickness of this layer should be no more than 1 inch. This layer can help move the process of composting along quite a bit because it adds a layer of beneficial microorganisms.
4) Add a dry layer
Add a layer of dry items, could be a newspaper, dry leaves, hay etc. This layer helps keep the compost pile sufficiently moist as well as dry.
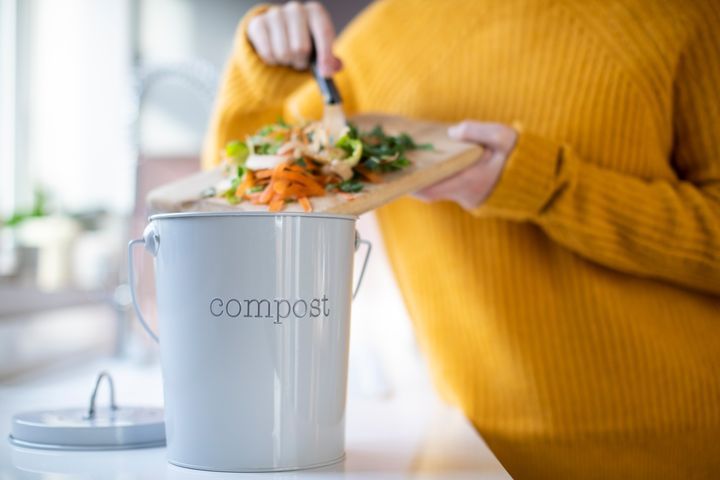
5) Now the wet layer
This layer can be all of your green ingredients which are preferably moist in nature. The height of both the dry and wet ingredients needs to be no more than 2 to 3 cms each. You will need to repeat the dry and wet layers at least 3 to 4 times more after this layer and before the next.
6) Add compost
Repeat step 3 of adding soil if you don’t already have leftover compost. This layer will also be about 1 inch. You can also buy a ready-made bag of compost online.
7) Add wet and dry components
Repeat step 4 and 5 by adding 4 layers of each alternatingly. As the pile continues to decompose, the volume decreases simultaneously, thus allowing you to add more quantity. Again after this step comes your layer of compost or soil because it helps in making it the bin odour free and add a little water after this.
8) Add weight on top
After your last layer and before you shut the lid, try to add some kind of tray or weight because it will help excess water drain out and will push the layers down.
9) You should add a tray underneath your bin
If you’re composting in an apartment and on a countertop then you need to add a tray or a plate under your bin. This will catch the leachate. This liquid can also be added to your plants in the interim of composting.
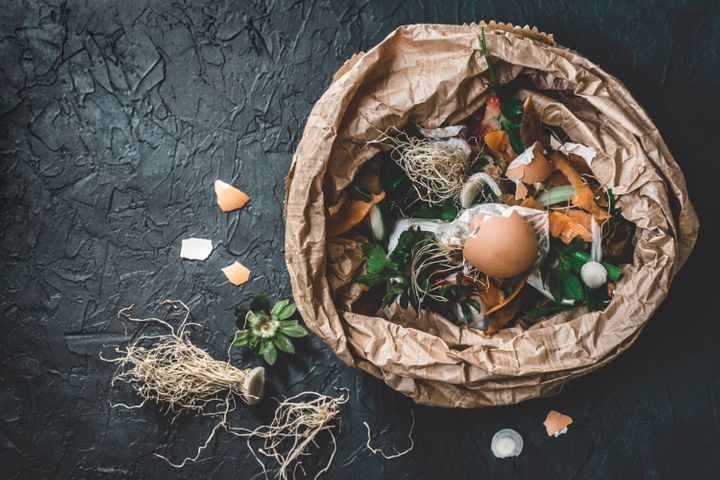
Things to put in your compost:
Your compost pile requires water, air, carbon and nitrogen to thrive. You add water so that the pile stays moist, if you wish to check if your compost is moist enough, you grab a handful and squeeze. It should feel like a damp sponge. Air circulates as you turn your compost pile. Now, brown materials supply carbon and green materials supply nitrogen. So, naturally what you add in your compost pile would get divided into the brown and green ingredients.
Brown:
- Twigs and sticks
- Newspaper
- Dry leaves
- Cardboard
- Sawdust and wood shavings
- Kitchen and toilet roll tubes
- Hay
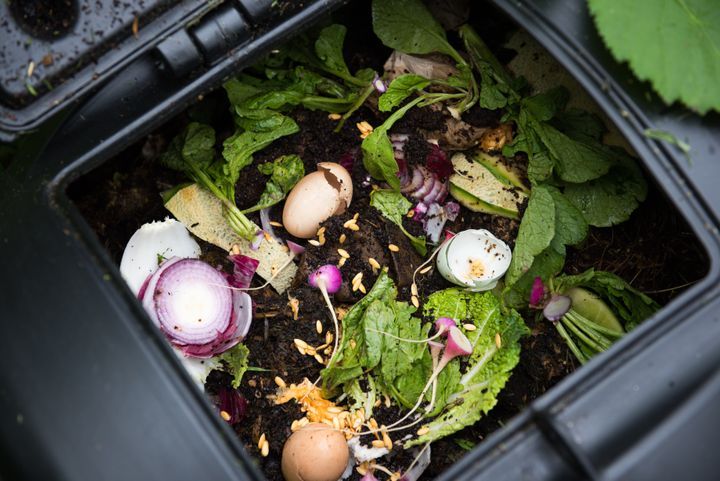
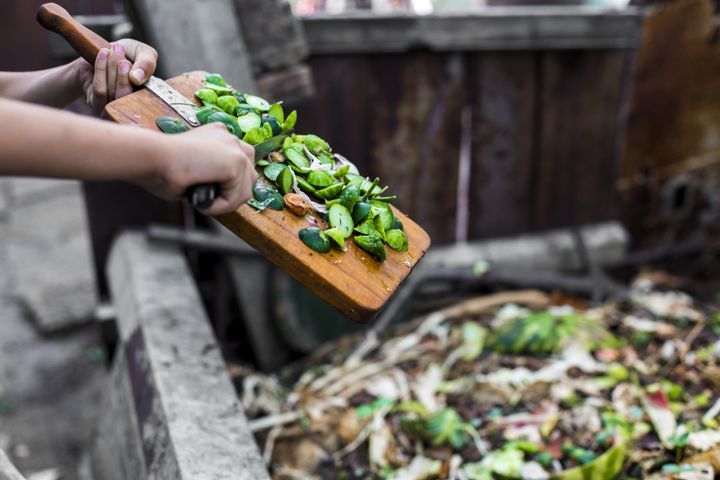
Green:
- Fruit and vegetable skins
- Grass and flowers
- Grains and legumes
- Hair, fur and feathers
- Coffee grinds and tea leaves
- Eggshells
Things you should never put in your compost:
- Dog and cat faeces
- Sugar
- Sawdust from treated wood
- Coated paper
- Personal hygiene products
- Fish and meat products
- Dairy products
- Citrus peels and onion
- Bread and grain products
- Garlic
- Cooking oil
- Non-biodegradable products
- Diseased plants
- Coal ash
Things to keep in mind:
1) Your compost bin needs moisture to thrive
Moisture is incredibly important while developing compost. Your compost pile doesn’t need watering every day but if your climate is warm like it is in India. Then your compost pile needs to be watered a little more than 4-5 times a month. Make sure that the water goes through the whole bin because moisture is needed for favourable micro-organisms to grow.
2) Your compost bin needs to be covered
Without a lid, your pile will be exposed to oxygen causing the food to decompose at a faster rate. This would then create an odour and attract insects and flies. Most people composting at home would definitely get a bin with a lid but just in case you have ample garden space and plan to do this outdoors then you should cover it with a tarp. Alternatively, just make sure fruits and veggies aren’t the top layers and if they are, then, just make sure to add another layer of leaves or dirt. This will protect your pile from insects.
3) Avoid adding meat, dairy or bones
Composting meat will invite maggots and bigger insects and critters to your compost bin and an intolerable odour. Hence it is recommended that one not use any of the aforementioned.
4) Keep the area around the bin clean
Sprinkle a pinch of baking soda on top of the compost pile to kill existing insects. And if you get an odour, you can spray the outside with diluted white vinegar. This solution will also help keep the area safe from insects.
How often should you turn your compost pile?
Every time you notice that your pile is losing its moisture you should turn the pile and then add water. Use a garden spade or garden fork and turn the pile from outside to the inside, like cooking or baking where you fold in the food. This helps your compost break down a lot faster as it increases the airflow. If you begin to smell an odour it means you are low on carbon and you can add the items we listed under carbon-rich ingredients above.
If you are following the hot composting method then you have to wait for about two weeks before you can turn the pile. You want the temperature of the pile to drop first; this would also indicate that your compost is almost ready for use.
How long before you can use your compost?
Compost can take up to 30 days to be ready in the summer season about 45 – 50 days in the winters. You should also keep your eye on the water level during the monsoons because extra water can destroy everything. This is a point to keep in mind if, your compost bin is set up outdoors. It could also take up to a year to breakdown and if you don’t have the patience to wait around then you can create a hot compost pile.
Can you add food items with mold?
White and green mold is good for compost piles and can be added because they have yeast that produces good microorganisms. However, black mold should be avoided at all cost. Rotting food, on the other hand, is exactly perfect for your pile.
What is a hot compost pile?
The idea is simple enough; you just need to place your bin in a spot that has access to a lot of sunlight. The size of your bin needs to be big enough as well. Like we mentioned above you need the right amount of carbon and nitrogen-rich ingredients to get the process going. It is better to chop up or crush whatever you wish to put in the pile as this will help it breakdown faster. You can use a few spoons of your previous finished compost as an activator. Mix it all up and water it so it’s been moistened evenly. Now make sure you monitor the temperature of the soil regularly. The optimal temperature for microbial activity is 130 to 140 degrees.
You can check with a soil thermometer or use your hand to check. If it is uncomfortably hot, it is the right temperature. Once your pile cools down a little you can turn the pile. Just make sure that your pile is wet enough to stimulate microbial activity that helps in the breakdown and if it gets extra moisture you can always add shredded newspaper to the mix to soak up excess moisture. You should see results within three weeks of keeping up with this routine. Soon you’ll have yourself a nice dark and crumbly compost pile to use.
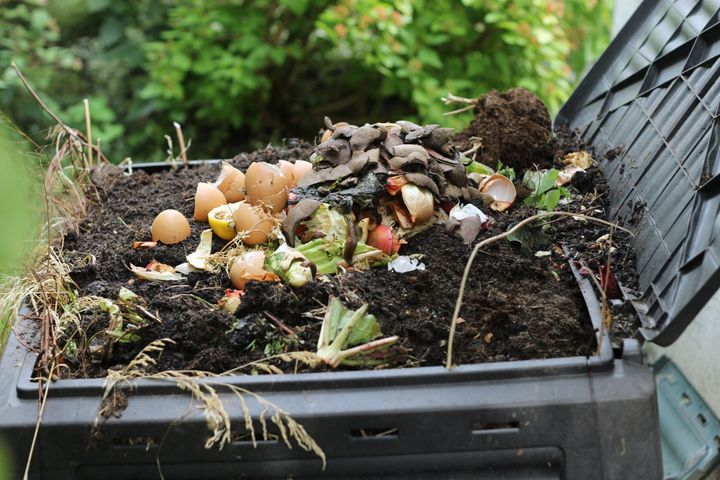
How do I use the compost I make?
When your compost turns into dark mush that crumbles in your hands and doesn’t have chunks of garbage left, you can start using it immediately. And if you don’t wish to use it dry it out completely for a day and store in a sealed plastic bag. Use it on the top layer of your soil in the pot. You can put it around your produce, tree and flowers. As you know, compost will create better soil quality that will help provide your plants will all the nutrients they need. Compost takes time to work itself into the soil but can be added at any time of the year. While it requires you to be patient, you will not be disappointed with the long-term benefits it yields for your plant and soil health.
Do you have any more pointers on composting for us? Let us know in the comments below.
And don’t forget to follow @missmalinilifestyle for more interesting updates.