
No matter the season or what occasion you’re going to there’s nothing like a great blush application to lift up your look in my opinion. Often overlooked, it’s actually the one product that instantly wakes up your complexion and makes you look more alive. Moreover, the right application can give you a youthful or all over glow you so desire. But who said blush has to be boring? If you’re in the mood to step outside your comfort zone just a little bit, playing around with your blush is the easiest way to begin. Why not try using more than one shade of blush on your cheeks? Trust me it’s more wearable than you might think. In fact, I’ve been using this trick a lot lately and it’s been giving me the most gorgeous flush whether I’m on more minimal makeup days or going for a glam look. Plus the glowing full cheeks radiate youth and vivacity perfectly on-trend for that fresh-faced glow. Ready to give it a shot? Get your brushes at ready and check out how to get the perfect flushed cheeks this season.
Here’s how to get the perfect flush in 3 simple steps:
All the tools you need:
- Blush brush
- Clean power brush
- Rose shade blush
- Peach or orange tone blush
Step 1
Once your base makeup is done you’re ready to go in with your blush. But before you start grabbing just any old blush, consider what formula you want to go for. Do you like creams, liquids or a powder formula? This of course depends on your skin type or the final look you’re going for. Next up is what complementary colours you’d like to pair together. The combo I’ve been loving is mixing a satin rose shade mixed with a shimmer peachy orange. Right now I’m more into powder formulas but this technique works great with cream or liquids too.
Step 2
If you want a more sunkissed all over glow work in your bronzer first. The bronzer acts as a base layer that helps to diffuse the blush’s pigment so it doesn’t look too harsh against the skin. But if you don’t like the bronzey look you can skip that jump straight into dipping your blush brush into the rose shade first. I prefer an angled brush for this step as it involves contouring your cheekbones and taking the brush at an upward angle towards the temples and build the colour slowly.
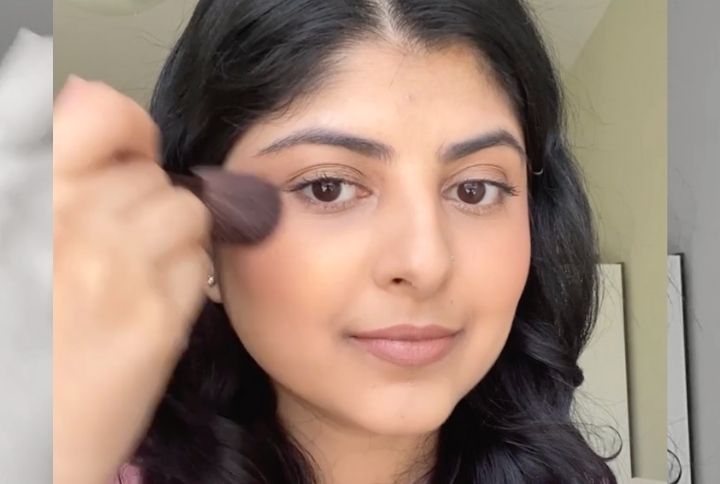
Step 3
Next up take the same brush and dip it into the shimmering orange shade. Make sure to tap off any excess. Now you need to deposit the colour on the apples of your cheeks first then blend upwards. You want to make sure to blend both colours seamlessly for a flawless transition from orange to pink. I usually skip my highlighter at this point as the shine from the blush gives a lovely glow. These two shades together add more dimension to your look while adding enough warmth. Moreover, it also helps sculpt the face. If you feel you’ve gone a bit ham with the pigment take a clean powder or foundation brush to blend and tone down the shades a bit.
Makeup Tip: Always remember to apply the darker or bold colours on the outer corners of the face and place more natural or brighter shades on the apples. Blended in this manner will always ensure a flawless transition to all your looks.
There you go! Once you get the hang of it and which colours work well together it’s easy peasy lemon squeezy. Plus you can even start playing around with bolder colours if you’re ready to step outside the box. Try it out for yourself and tag us @missmalinibeauty so we can see all your amazing looks.
Don’t forget to join Malini’s Girl Tribe where we have more fun conversations like this.